Relaxing Wall Art For Your Therapy Office

Relaxing Wall Art For Your Therapy Office, brought to you by Style by Mimi G, e-Designer specializing in therapy offices! Perfect for designing any calming space!

Relaxing Wall Art For Your Therapy Office

Choosing the appropriate art for a room is the most difficult task to decorating a therapy office (well, some would say the paint color for the wall is, but I’ll save that whole enigma for another blog post 🙂 ).

You’ll need at least two art pieces. One soothing large piece of art that draws the client into the room and one medium-sized art that will be in view of the client when they are seated (for more guidance, get your free e-book at the end of this blog post!).

Which wall should the large wall art hang on?

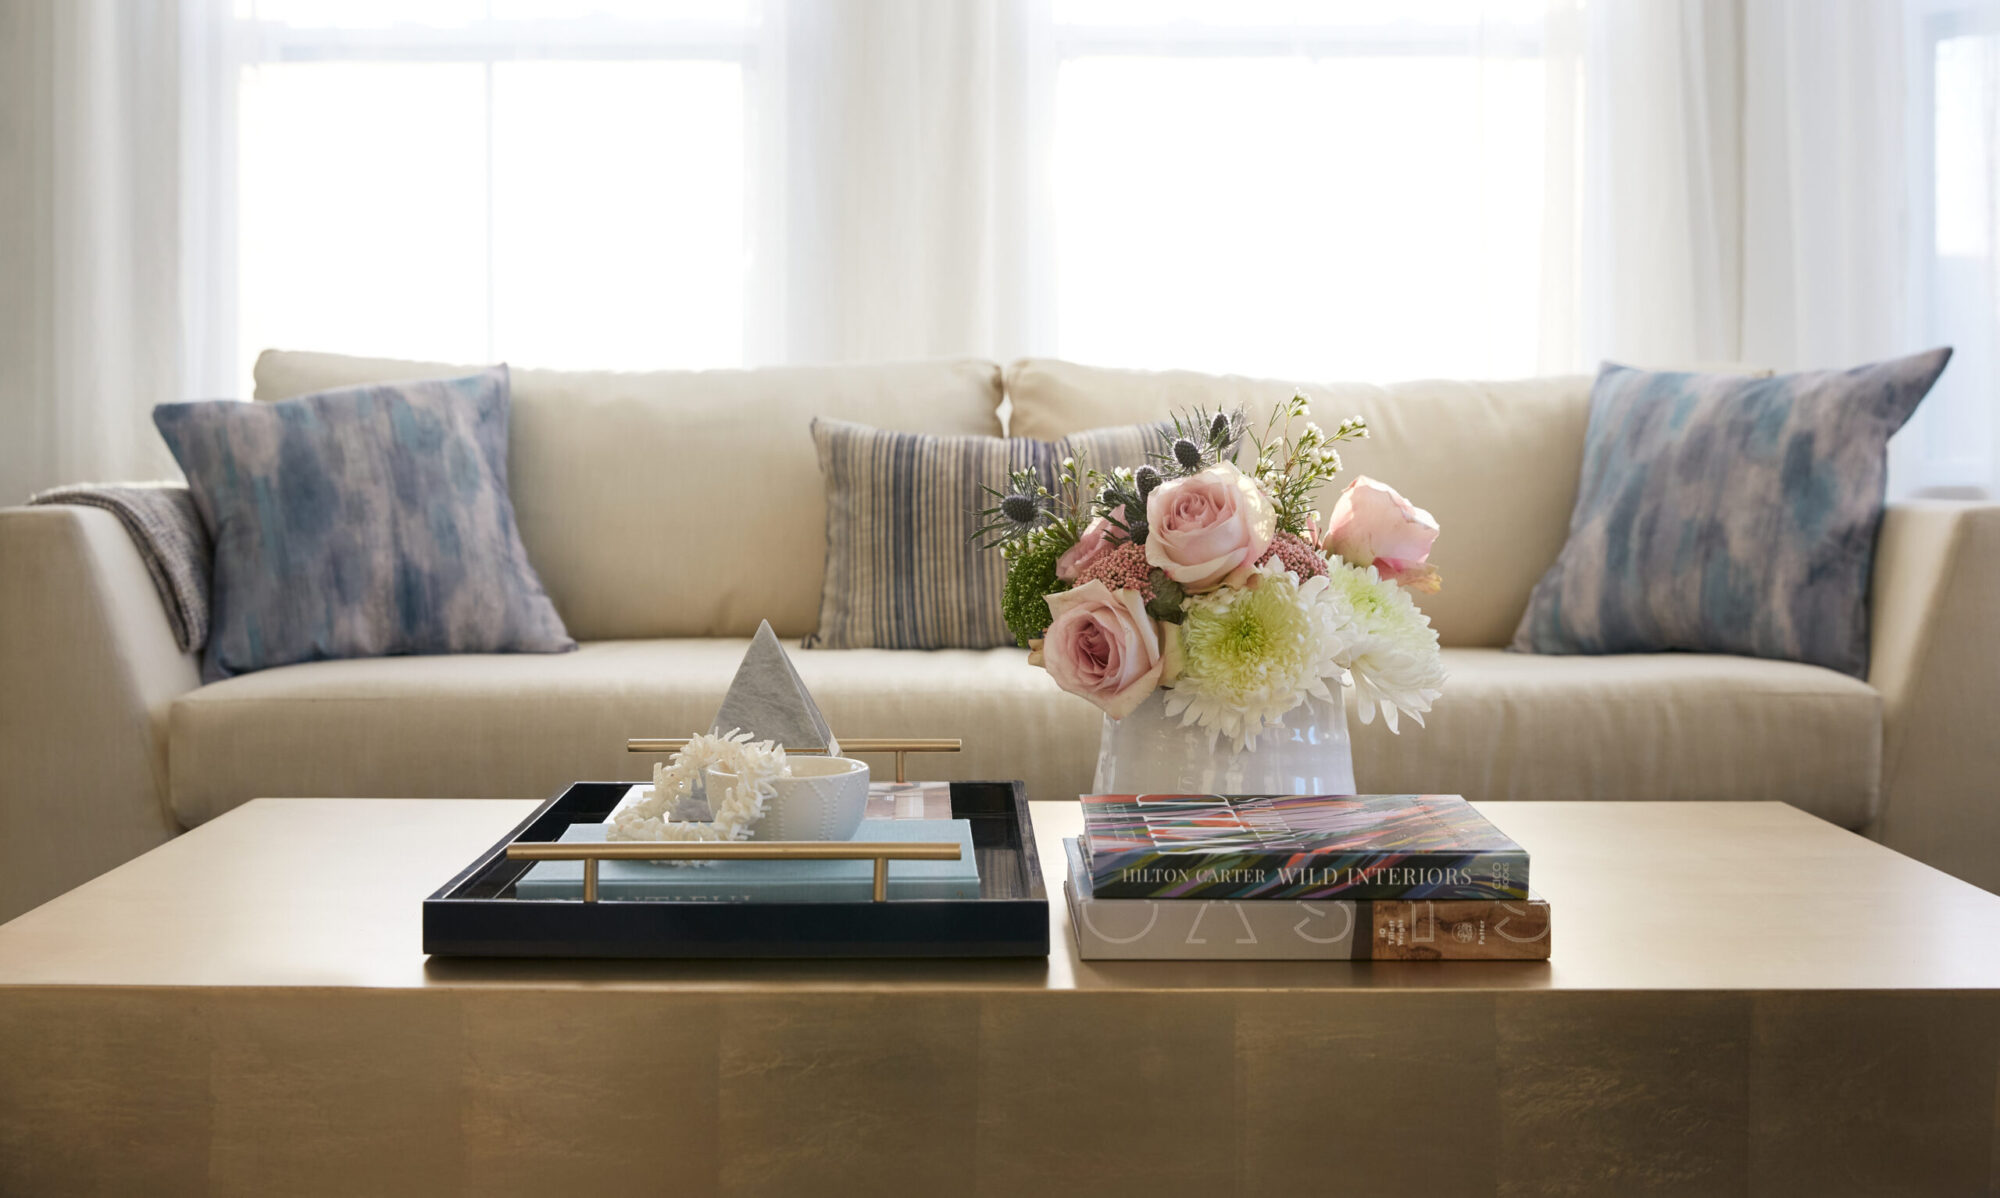
First you’ll need to choose your focal wall. Since the sofa and accent tables with lamps on them draw the most attention in the room, that area is the focal point of the room. Hang your large wall art behind the sofa.

How do you narrow down your search?

Let me save you at least 20 hours of searching! Come, step into my gallery below…

*tap on images to shop(may include affiliate links, which means I get a small commission, at no extra cost to you)!

Relaxing and calming wall art from a Therapy Office Blog - www.stylebymimig.com

Relaxing and Calming Art From Therapy Office Blog - Therapy Office design by Style by Mimi G, interior decorator servicing NY and NJ


Relaxing and calming wall art from a Therapy Office Blog - www.stylebymimig.com

Relaxing and calming wall art from a Therapy Office Blog - www.stylebymimig.com

Relaxing and calming wall art from a Therapy Office Blog - www.stylebymimig.comRelaxing and Calming Art From Therapy Office Blog - Therapy Office design by Style by Mimi G, interior decorator servicing NY and NJ

Relaxing and Calming Art From Therapy Office Blog - Therapy Office design by Style by Mimi G, interior decorator servicing NY and NJ


Relaxing and Calming Art From Therapy Office Blog - Therapy Office design by Style by Mimi G, interior decorator servicing NY and NJ


Relaxing and calming wall art from a Therapy Office Blog - www.stylebymimig.com
Agate Abstract I


Relaxing and Calming Art From Therapy Office Blog - Therapy Office design by Style by Mimi G, interior decorator servicing NY and NJ

Here are some medium-sized art pieces (in view of clients when they are seated):

Relaxing and Calming Art From Therapy Office Blog - Therapy Office design by Style by Mimi G, interior decorator servicing NY and NJ

Relaxing and Calming Art From Therapy Office Blog - Therapy Office design by Style by Mimi G, interior decorator servicing NY and NJ


Relaxing and calming wall art from a Therapy Office Blog - www.stylebymimig.com

Relaxing and calming wall art from a Therapy Office Blog - www.stylebymimig.com

Relaxing and calming wall art from a Therapy Office Blog - www.stylebymimig.com

How do you know which size to choose?

You will want the art to be a minimum of half the length of the sofa, but the best size will fall somewhere between 2/3 – 3/4 of the length of the sofa.

What else should you consider when picking a calming piece of wall art for your clients?

Make sure to steer clear of anything that the client may have bad associations with. I avoid all images of people. The best choices are abstract or landscape paintings with soothing colors in them. There are many styles of abstract art. Avoid bold or graphic patterns and look for more organic soft lines (think marbled design rather than geometric shapes).

HOW DO I HANG MY FRAMES IN 20 SECONDS WITH NO TOOLS?

I have to share this trick with you! The little gadget I discovered makes it soooooo easy to hang frames and mirrors!

You literally push them into the walls with your thumbs(must be drywall)! The first time I tried them, I hung up all my art in 20 minutes! You know, that box of art you never get around to hanging because the process is too annoying?!?? Yep, that took 20 minutes to hang!!!

How to hang relaxing and calming wall art, from a Therapy Office Blog - www.stylebymimig.com
Click Here!!!

It’s perfect for renters too because it leaves the tiniest holes in the wall. The next time you move, you can just remove them and dab the matching paint on the hole with a cotton swab. Super easy!!!

Hope you found this helpful!

I’VE GOT SOME OPTIONS FOR YOU DIYers!!!

I just launched, “Therapy-Office-in-a-Click”!!!  It’s a budget friendly way to get the therapy office you’ve always dreamed of. It includes links to everything from furniture, plants and decor items down to inspiration stones and soothing scented oils. All items have positive customer reviews- you can skip all that time researching! Click HERE to start shopping!

I also created an e-book, “A step-by-step guide to decorating your tranquil therapy office.”  It includes a detailed breakdown of how to create a therapy office with amazingly soothing energy. It also includes a checklist of all the items you’ll need to buy. This e-book is FREE! Click here to get your e-book! 


E-book to help guide you to create your tranquil therapy office!
FREE E-BOOK

Link to book a 15 minute chat with Style by Mimi G, Interior Decorator and E-Designer

Looking for great rugs for your office? Head over to my latest blog post!

Best Rugs For Designing A Therapy Office!

Did you miss my post, “Designing a Therapy Office”? Check it out here!!!


Therapy Office Blog- Therapy Office that uses coastal serene colors. Perfect for a psychotherapist or social worker office.

Traditional Master Bedroom Design (with a modern twist)

Traditional Master Bedroom in Neutrals and Blush, by Style by Mimi G, Interior Decorator and E-Designer

Traditional Master Bedroom Design (with a modern twist)

BEFORE…

AFTER…

Blog- Traditional Master Bedroom in Neutrals and Blush, by Style by Mimi G, Interior Decorator and E-Designer

There’s nothing that tops the feeling of a returning client! I had the privilege of working with this client when she updated her living room. Since then, every time I would see her, she would tell me, “It’s not right! Every time I walk into my living room, I cannot help but smile and have a sense of serenity. Then, I walk into my bedroom and I’m jealous of my living room!” She told me that she never realized that surrounding yourself with beauty was so important for your well-being.

Finally, when she couldn’t take looking at her blah room anymore, I got the call to design her bedroom. Her bedroom set had Old World style with regal elegance. She had a big cozy wingback chair that was perfect for curling up with a book. Everything else had to go!

After discussing the style and feel of the room with my client, I came up with a plan. Traditional romantic sophistication with a modern twist. I started with choosing paint. The walls were a very pale pink, which did nothing for the room. I searched for a rich corally pink that would complement the wood tones of the furniture. I first tried a few samples on the wall before I made a final decision (NEVER skip this step! Unless, of course, you really like re-painting).

As soon as the room was painted, it was shopping time! I found all these pillows at Homegoods in one trip, and if you know the store Homegoods, you know that was nothing short of a miracle! I styled them on my client’s bed and she was sold.  It was love at first sight!


Blog- Traditional Master Bedroom in Neutrals and Blush, by Style by Mimi G, Interior Decorator and E-Designer


This Kravet duvet cover is gorgeous! It has an animal-like print on it, with metallic silver speckled detail. I layered on a faux fur throw to add more luxury, texture and interest. Although there are a bunch of different patterns in the bedding, they work well together because they are all neutral. If you stick with a tight color palette, you can really get away with a lot (especially when you’re dealing with neutrals)!


Blog- Traditional Master Bedroom in Neutrals and Blush, by Style by Mimi G, Interior Decorator and E-Designer In our last project together, my client loved the added energy that color brought to the room. Not wanting to upset the feeling of tranquility, I made sure to lightly sprinkle color throughout the room.  Framing these sheets of handmade marbled art in gold was not only simple, but was a great starting point for the color palette. DIY at it’s best!


Blog- Traditional Master Bedroom in Neutrals and Blush, by Style by Mimi G, Interior Decorator and E-Designer


To lighten up the mood of the room, I added a splash of modern. Marbled art in clean-lined frames, white fur rugs, a simple tall glass vase and other decor brought this traditional room to 2017.


Blog- Traditional Master Bedroom in Neutrals and Blush, by Style by Mimi G, Interior Decorator and E-Designer


I looked for a mirror to bounce some light around the room. I wanted it to be subtle, so the room would maintain a serene feel. This mirror really caught my eye. The ivory colored shell tiles are elegant, yet quiet. I also love how the curves in the mirror echo the arches in the art deco pillows.


Blog- Traditional Master Bedroom in Neutrals and Blush, by Style by Mimi G, Interior Decorator and E-Designer


Blog- Traditional Master Bedroom in Neutrals and Blush, by Style by Mimi G, Interior Decorator and E-Designer


The candles dispersed throughout the room promote a calm surrounding and a perfect place to reflect and meditate (another request of my client). My client recently told me she was away on a trip. When she returned, she was completely drained. She got home, opened her bedroom door, sighed with relief and then smiled. The most rewarding part of my job is knowing that my completed projects becomes the daily joy of some really wonderful people!


Blog- Traditional Master Bedroom in Neutrals and Blush, by Style by Mimi G, Interior Decorator and E-Designer


Blog- Traditional Master Bedroom in Neutrals and Blush, by Style by Mimi G, Interior Decorator and E-Designer


Blog- Traditional Master Bedroom in Neutrals and Blush, by Style by Mimi G, Interior Decorator and E-Designer

Love what you see?

Tired of endlessly pinning items on Pinterest that you never actually purchase?

I can help you create a home you love!

I have 4 service options available; E-Design, Full Service,  2-Day Styling Service and Consultation for the DIYer. Visit my services page for full details.

Just wanted to share my secret to hanging frames and mirrors. This little gadget makes it soooooo easy to hang things! You literally push them into the walls with your thumbs(must be drywall)!  It’s perfect for renters too because it leaves the tiniest holes in the wall.  The next time you move, you can just remove them and dab the matching paint on the hole with a cotton swab. Super easy!!!

CLICK ON IMAGE TO SEE AVAILABLE OPTIONS!

The links on this page may contain affiliate links, which means I get a small commission, at no extra cost to you. Make sure to check the weight limit works for your frame (the 20lb option should be good for the typical medium-sized frame and the 40lb option should work for a medium-sized mirror).

Interior Decorator and E-Designer, Style by Mimi G, creates intriguing interiors for busy professionals. Services available nationwide through e-design service. FREE E-BOOK GUIDE INCLUDED!


Therapy Office that uses coastal serene colors. Perfect for a psychotherapist or social worker office.

FREE E_BOOK!!!

Designing a College Student Lounge

College Student Lounge,designed by Style by Mimi G, Interior Decorator and E-Designer

My clients run the Center of Jewish Life/Hillel of Rockland College.  Thinking about updating their Hillel student lounge for a long time, they decided to reach out to me. I was more than happy to take on the job.  I knew it would be an exciting challenge! My clients wanted to change the room’s vibe from boring lunchroom to fun lounge/hangout. The room was pretty small, so the first thing I did was booted all of the original items/furniture that were not necessary. The only things we kept were the bookcase and fridge.  The replacements would all be budget friendly and have a tight palette so the room would not feel too busy. We chose black and white with pops of blue. Once that was figured out, a-shopping I did go!

So, how do you make a room with boring grey wall-to-wall office carpeting look fun and fresh, you ask?  Drop a great rug on it!  The first purchase I made was this amazing rug that looks like the tide coming in on the shore. I knew it would bring some life to the room and steal the show!                                                                                                                                                                                                          College Student Lounge designed by Interior Decorator and E-Designer, Style by Mimi G. Check out the blog and E-Design services!!!

My clients wanted to hang up some pictures of the students, so I decided to create a gallery wall. All white frames would be nice and clean looking, but this is a student lounge, so I thought we should have some fun with it! I wanted to have a black and white speckled background for the gallery wall. I originally planned on using speckled wallpaper but that would have taken us way over our budget. Luckily, my clients had many wonderful students that were willing to volunteer! Out with the wallpaper, in with the hand-painted speckled wall!!! They did an amazing job!College Student Lounge designed by Interior Decorator and E-Designer, Style by Mimi G. Check out the blog and E-Design services!!!

For all you peeps that are dying to get some wallpaper on your walls but can’t afford it, DIY it! Okay, it would take a really long time to do this yourself, so call over some friends. You may want to make a one drink limit, unless you’re going for a modern art look. In which case, you may as well get your kids to help you. Then when you and the kids finish the walls, you can celebrate with your friends and go out for those drinks! Both are very good options. There are so many great ideas out there for DIY accent walls. You can head over to my Pinterest DIY board to check out some that I’ve pinned –https://www.pinterest.com/StylebyMimiG/diy-ideas/.

The rest of the room was all planned out. I knew the Hillel lounge needed some Israel-related paraphernalia but I didn’t want it to be cheesy(AKA, big poster of the map of Israel, etc.).  I decided to create a modern asymmetrical string art of Israel. Check out this great tutorial I put together. If you have any questions, don’t hesitate to ask!

College Student Lounge designed by Interior Decorator and E-Designer, Style by Mimi G. Check out the blog and E-Design services!!!

I also commissioned one of the students, Gayil, from Hennas by Gayil (https://www.facebook.com/hennasbygayil/), to create a drawing of a Chamsa. I had seen her work before and knew she was extremely talented. Well, she did not disappoint! Check out the beautiful detail in this drawing!!!

College Student Lounge designed by Interior Decorator and E-Designer, Style by Mimi G. Check out the blog and E-Design services!!!

I wanted it to have an authentic look, so I had her draw on paper with raw edges and pinned it onto the matting of the frame.

College Student Lounge designed by Interior Decorator and E-Designer, Style by Mimi G. Check out the blog and E-Design services!!!

When it was time to shop for furniture, I searched for simple, fun and modern. For the chairs in front of the gallery wall, I chose black leather chairs to help that wall feel grounded. Two mid-century modern chairs in black and white houndstooth material were placed opposite the speckled wall. The pattern of the fabric helped create balance, adding a similar splash of black-and-white-crazy to the other side of the room.

College Student Lounge designed by Interior Decorator and E-Designer, Style by Mimi G. Check out the blog and E-Design services!!!

I chose simple birch nesting tables to add a natural element to the room. The matching stools brought balance to the other areas of the room, while affording extra seating when needed.  I customized the stool tops to add some texture and color to other parts of the room. I stuck to our tight color palette when choosing the fabric for upholstering and the paint for the stool tops.

FROSTA Stool IKEA The stool can be stacked, so you can keep several on hand and store them on the same space as one.
http://www.ikea.com/au/en/catalog/products/60162301/

This is the Frosta stool from Ikea. It is so affordable and you can customize it in so many ways!

                                                                                                          College Student Lounge designed by Interior Decorator and E-Designer, Style by Mimi G. Check out the blog and E-Design services!!!

I am a big believer in bringing life to a room by adding live plants. I scoured the internet for a cool hanging planter and found this gem-of-a-gem-shaped glass hanging planter. I created a beautiful terrarium, layering pebbles, varied types of dried moss and a succulent plant.

College Student Lounge designed by Interior Decorator and E-Designer, Style by Mimi G. Check out the blog and E-Design services!!!

I always choose succulents to add to client’s rooms, because they are hardy and most people are unintentional-plant-killers ;).

The Before…and Afters

img_2986-edit
before
College Student Lounge designed by Interior Decorator and E-Designer, Style by Mimi G. Check out the blog and E-Design services!!!
after
img_2985_new
before
College Student Lounge designed by Interior Decorator and E-Designer, Style by Mimi G. Check out the blog and E-Design services!!!
after

College Student Lounge designed by Interior Decorator and E-Designer, Style by Mimi G. Check out the blog and E-Design services!!!

 College Student Lounge designed by Interior Decorator and E-Designer, Style by Mimi G. Check out the blog and E-Design services!!!

Love what you see? Tired of endlessly pinning items on Pinterest that you never actually purchase?

I can help you create a home you love!

I have a service an online studio that allows me to work with anyone in the world through my  E-Design service! I also have my Full Service option available in the tri-state area! Visit my services page for full details.


WOULD LOVE YOUR FEEDBACK! SCROLL DOWN TO LEAVE A COMMENT!

Israel String Art Tutorial

College Student Lounge, Design by Style by Mimi G, Interior Decorator and E-Designer, NY / NJ

img_2131-001

What you’ll need:

-box of nails ( I used Exterior Galvanized 4d 1 1/2″ nails)

-plank of wood (pine was the most affordable. My art is on a plank that is 2′ x 4′)

-paint (I used white wall paint)

-embroidery string

-hammer

-scissors

1. Paint the wood. Allow it to dry. Put a second coat on it. Allow it to dry for 24 hours.

2.Tape the map onto the wood.

img_3457


3. Hammer in the nails along the border of the country.

img_3458


4. Gently rip the map off, holding down on the nails as you rip it off that area.

img_3461

5. Tie the string around one nail and make a double knot.

6. Loop string over and around each nail continuing all the way around until you reach the original nail you started with. Then repeat in the opposite direction.

7. Repeat step #5 3 times on each side

8.Then, start looping around each nail, switching direction with each nail (in the shape of an 8) until you attain the desired affect. Do not cut the string yet!

9. Pull the string across the center at random angles, making sure to loop around each nail you choose. When you like what you see, tie a double knot and cut the string.


Beautiful!!!

img_2153-002